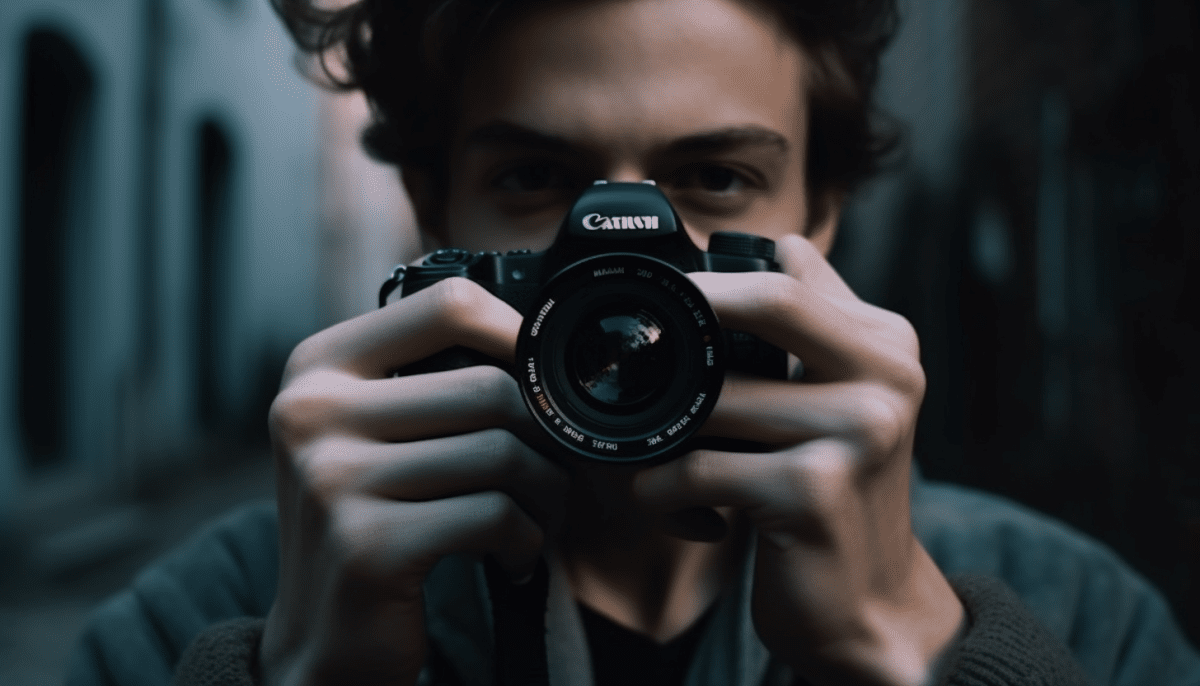
When you first pick up your DSLR, it can feel a bit overwhelming with all the buttons and settings. But don’t worry! Getting familiar with your camera settings is key to taking amazing photos. Let’s break down some of the essential settings you need to know.
ISO: This setting controls how sensitive your camera’s sensor is to light. A lower ISO (like 100 or 200) works well in bright conditions, while a higher ISO (800 or above) is great for low light. Just keep in mind that a higher ISO can introduce some noise, which may make your photos look grainy.
Aperture: Think of aperture like your camera’s eye. It controls how much light enters through the lens. A larger aperture (a smaller f-number, like f/2.8) lets in more light and gives you that nice blurred background, perfect for portraits. A smaller aperture (like f/11) is better for landscapes when you want everything in focus.
Shutter Speed: This setting determines how long your camera's shutter is open. Fast shutter speeds (like 1/500 seconds) will freeze action, which is great for sports or moving subjects. Slower speeds (like 1/30 seconds) are better for capturing light trails or low-light scenes, but make sure to use a tripod to avoid blurry images.
Once you start playing around with these settings, you’ll notice how they affect your photos. Don’t be afraid to experiment! Practice makes perfect, and you'll be on your way to capturing stunning images in no time.
Compose Stunning Photos Easily
Taking beautiful photos doesn’t have to be complicated! With your DSLR in hand, you can start capturing stunning images in no time. The secret lies in understanding a few key elements and using them to your advantage. Let’s dive into some straightforward tips to help you get the most out of your camera.
First things first: learn about your camera’s settings. Get comfortable with the exposure triangle—aperture, shutter speed, and ISO. These three elements work together to control how light hits your sensor. Don’t be afraid to play around and see how different settings change your images. A wider aperture (lower f-number) can create that nice blurry background, while a faster shutter speed can freeze movement in action shots.
Lighting is another huge factor in photography. Natural light is your best friend. Aim to shoot during the golden hour—right after sunrise or before sunset. This soft, warm light can make a world of difference in your photos. If you’re shooting indoors, try to position your subject near a window for soft, diffused light.
Composing your shot is key to making your photos pop. Use the rule of thirds to guide your framing. Imagine a tic-tac-toe grid on your viewfinder and place your subject along these lines or at their intersections. This simple trick can elevate your images and create a more balanced look.
Lastly, don’t forget to experiment! Try different angles, perspectives, and backgrounds. The beauty of digital photography is that you can take as many shots as you want without worrying about the film cost. So go ahead and get creative—you might surprise yourself with what you capture!
Play with Lighting Techniques
Lighting can make or break a photo, so learning to play with different lighting techniques is key to mastering your DSLR. Whether you’re shooting indoors or outdoors, natural or artificial light, it’s all about making the most of what you have.
Let’s start with natural light. The golden hour, just after sunrise or before sunset, is when you’ll get the most beautiful, soft light. This is perfect for portraits and landscapes alike. Try positioning your subject so the light hits them at an angle. This adds warmth and dimension to your shots. If you’re shooting during harsh midday sunlight, find some shade. This can help avoid those harsh shadows that can make your images look flat.
If you want to experiment with artificial lighting, consider using a simple external flash or even LED lights. These can help create more dramatic effects. Bounce the light off a wall or ceiling to soften it. This technique works wonders, especially for portraits, as it spreads the light evenly and reduces harsh highlights.
Don't forget about directional light! This is where you think about where your light is coming from. Side lighting can create great contrast and depth, while backlighting can add a nice halo effect. Just play around with angles to see what works best for your style. Remember, sometimes it’s the little tweaks that make a big difference!
Edit Like a Pro with Software
To really take your photography to the next level, editing your photos can be just as important as taking the shot. With the right software, you can enhance your images in ways you never thought possible. Don’t worry if you’re not a tech whiz – many editing programs are user-friendly and come with tons of helpful tutorials.
Here are a few popular options that make it easy to edit like a pro:
When starting out, focus on a few basic edits. Adjusting brightness, contrast, and color saturation can really make your photos stand out. And don’t be afraid to experiment! Sometimes a little tweaking goes a long way in making your shot pop.
Remember, practice makes perfect. Spend time getting to know your chosen software, and before you know it, you’ll be editing with confidence. Happy editing!

